How do I remove the motherboard from the Morello ATX case?
Open the case
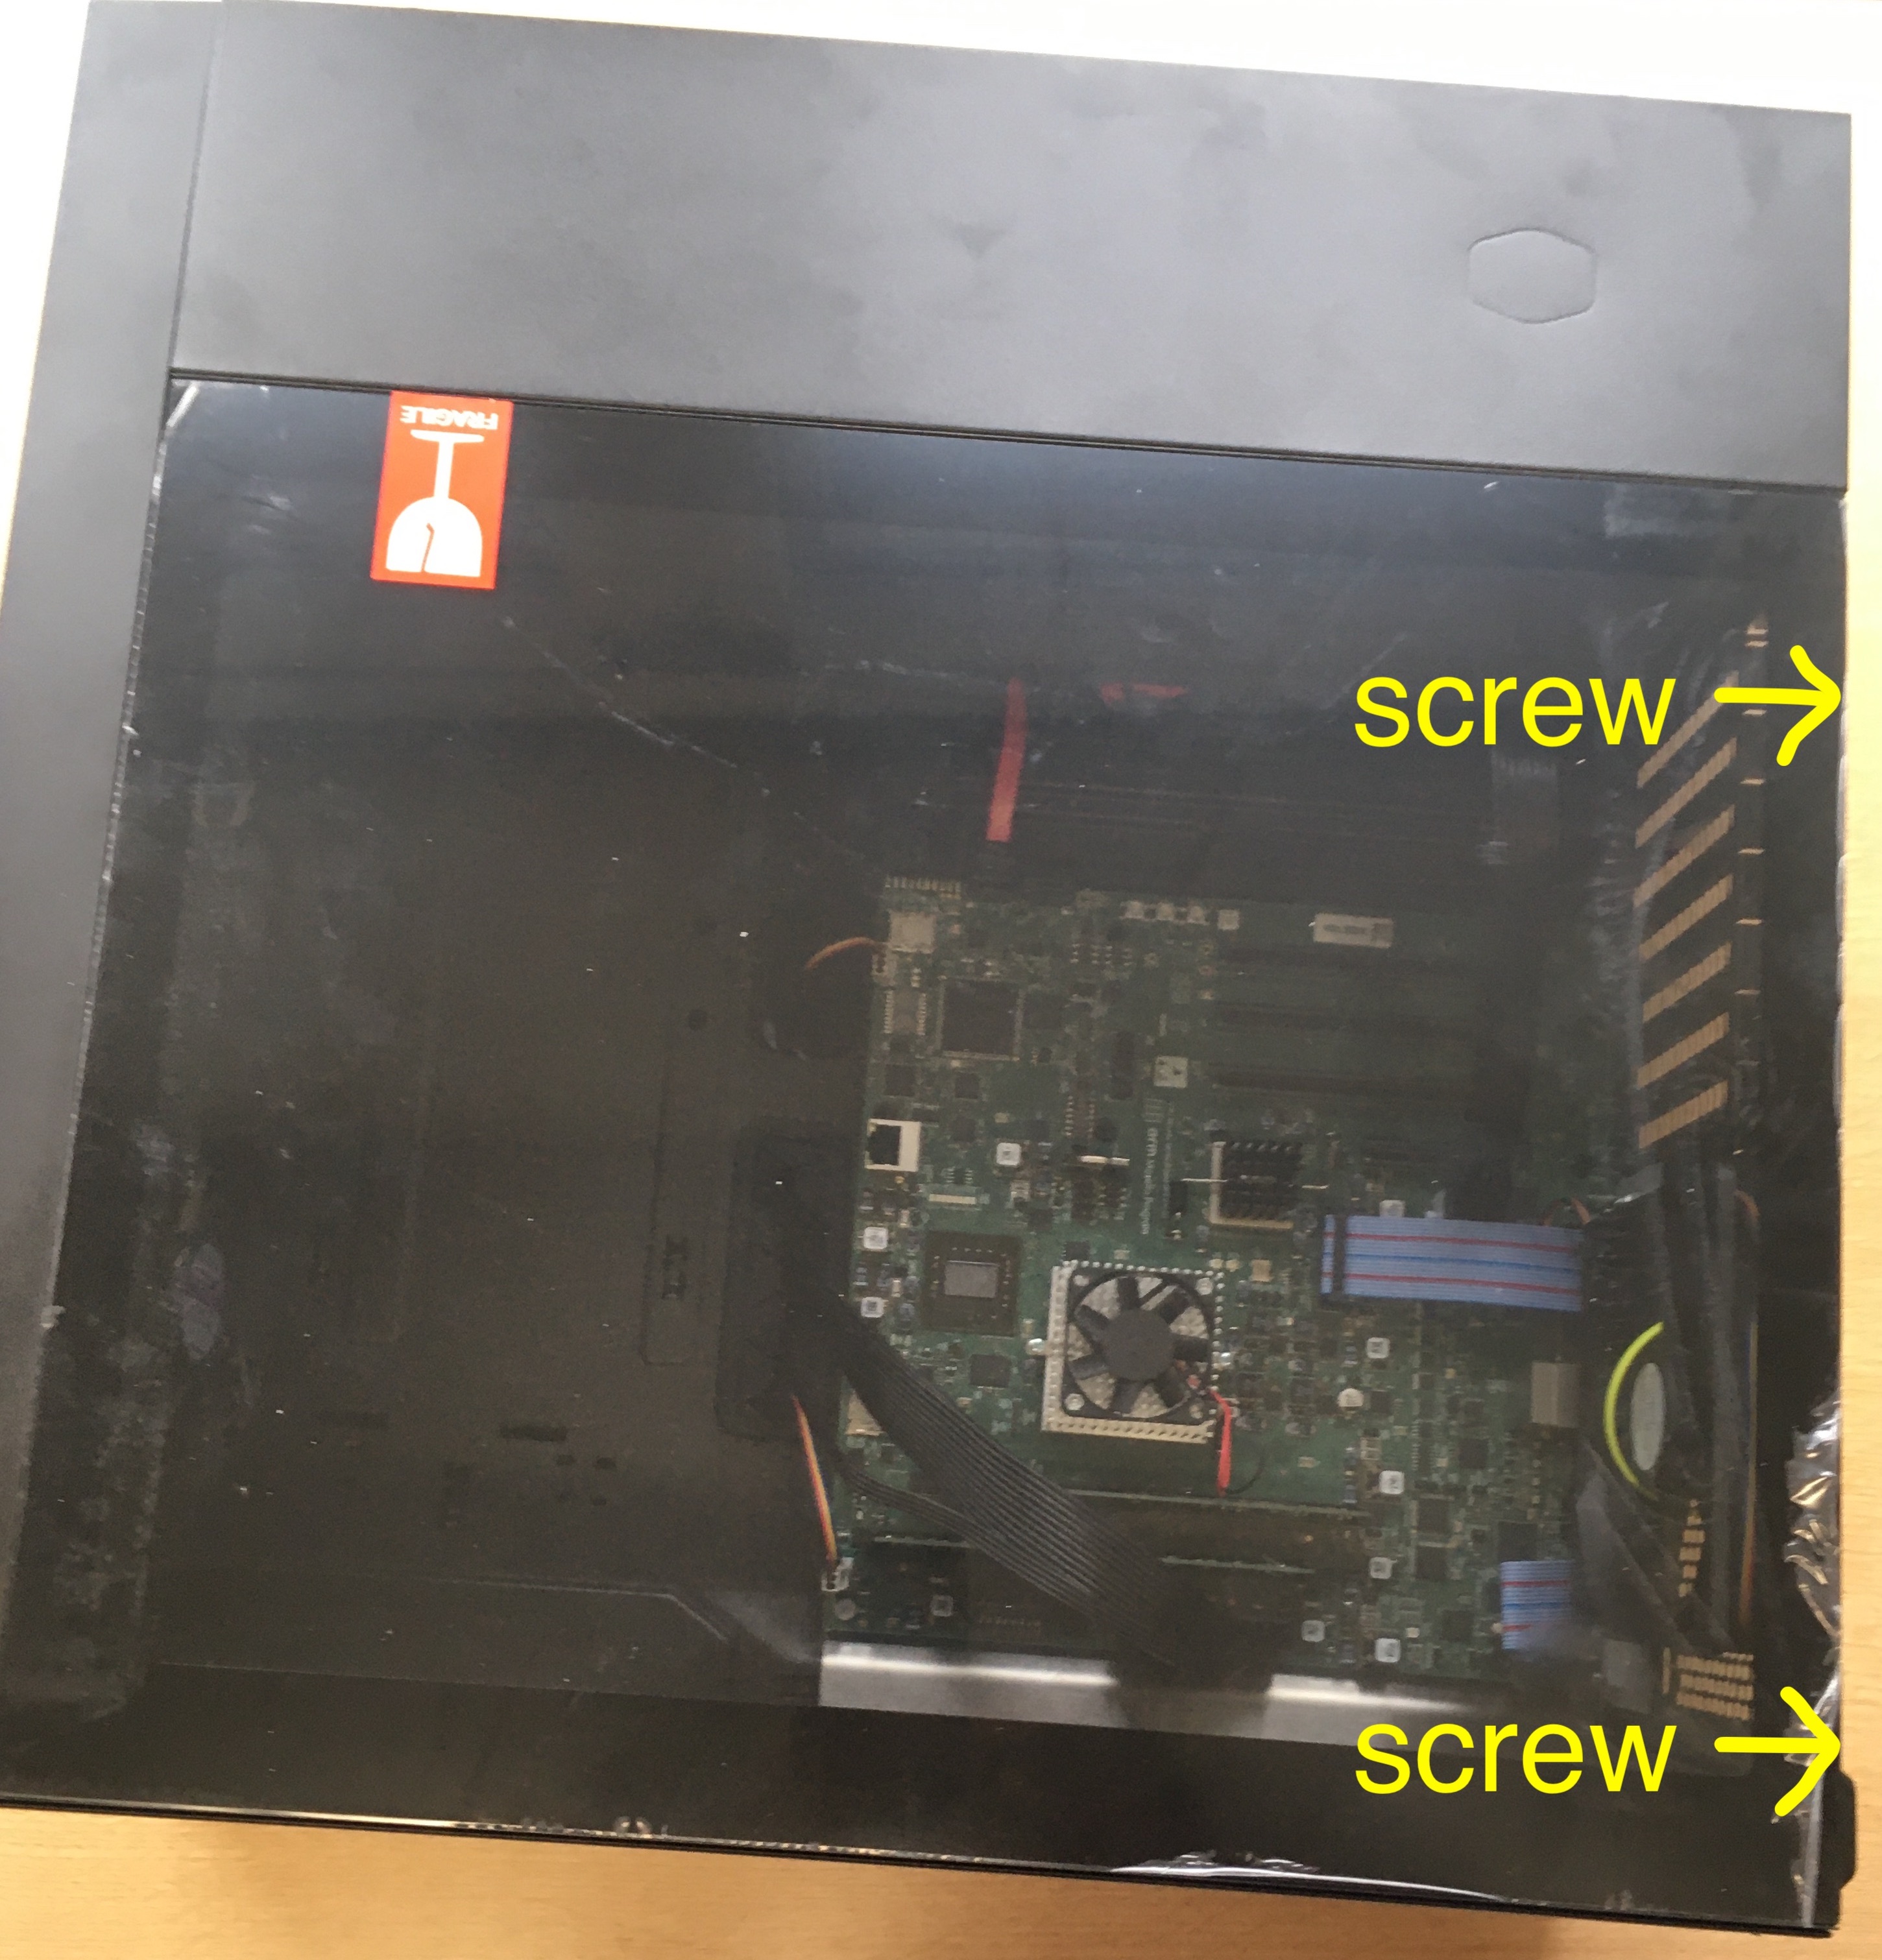
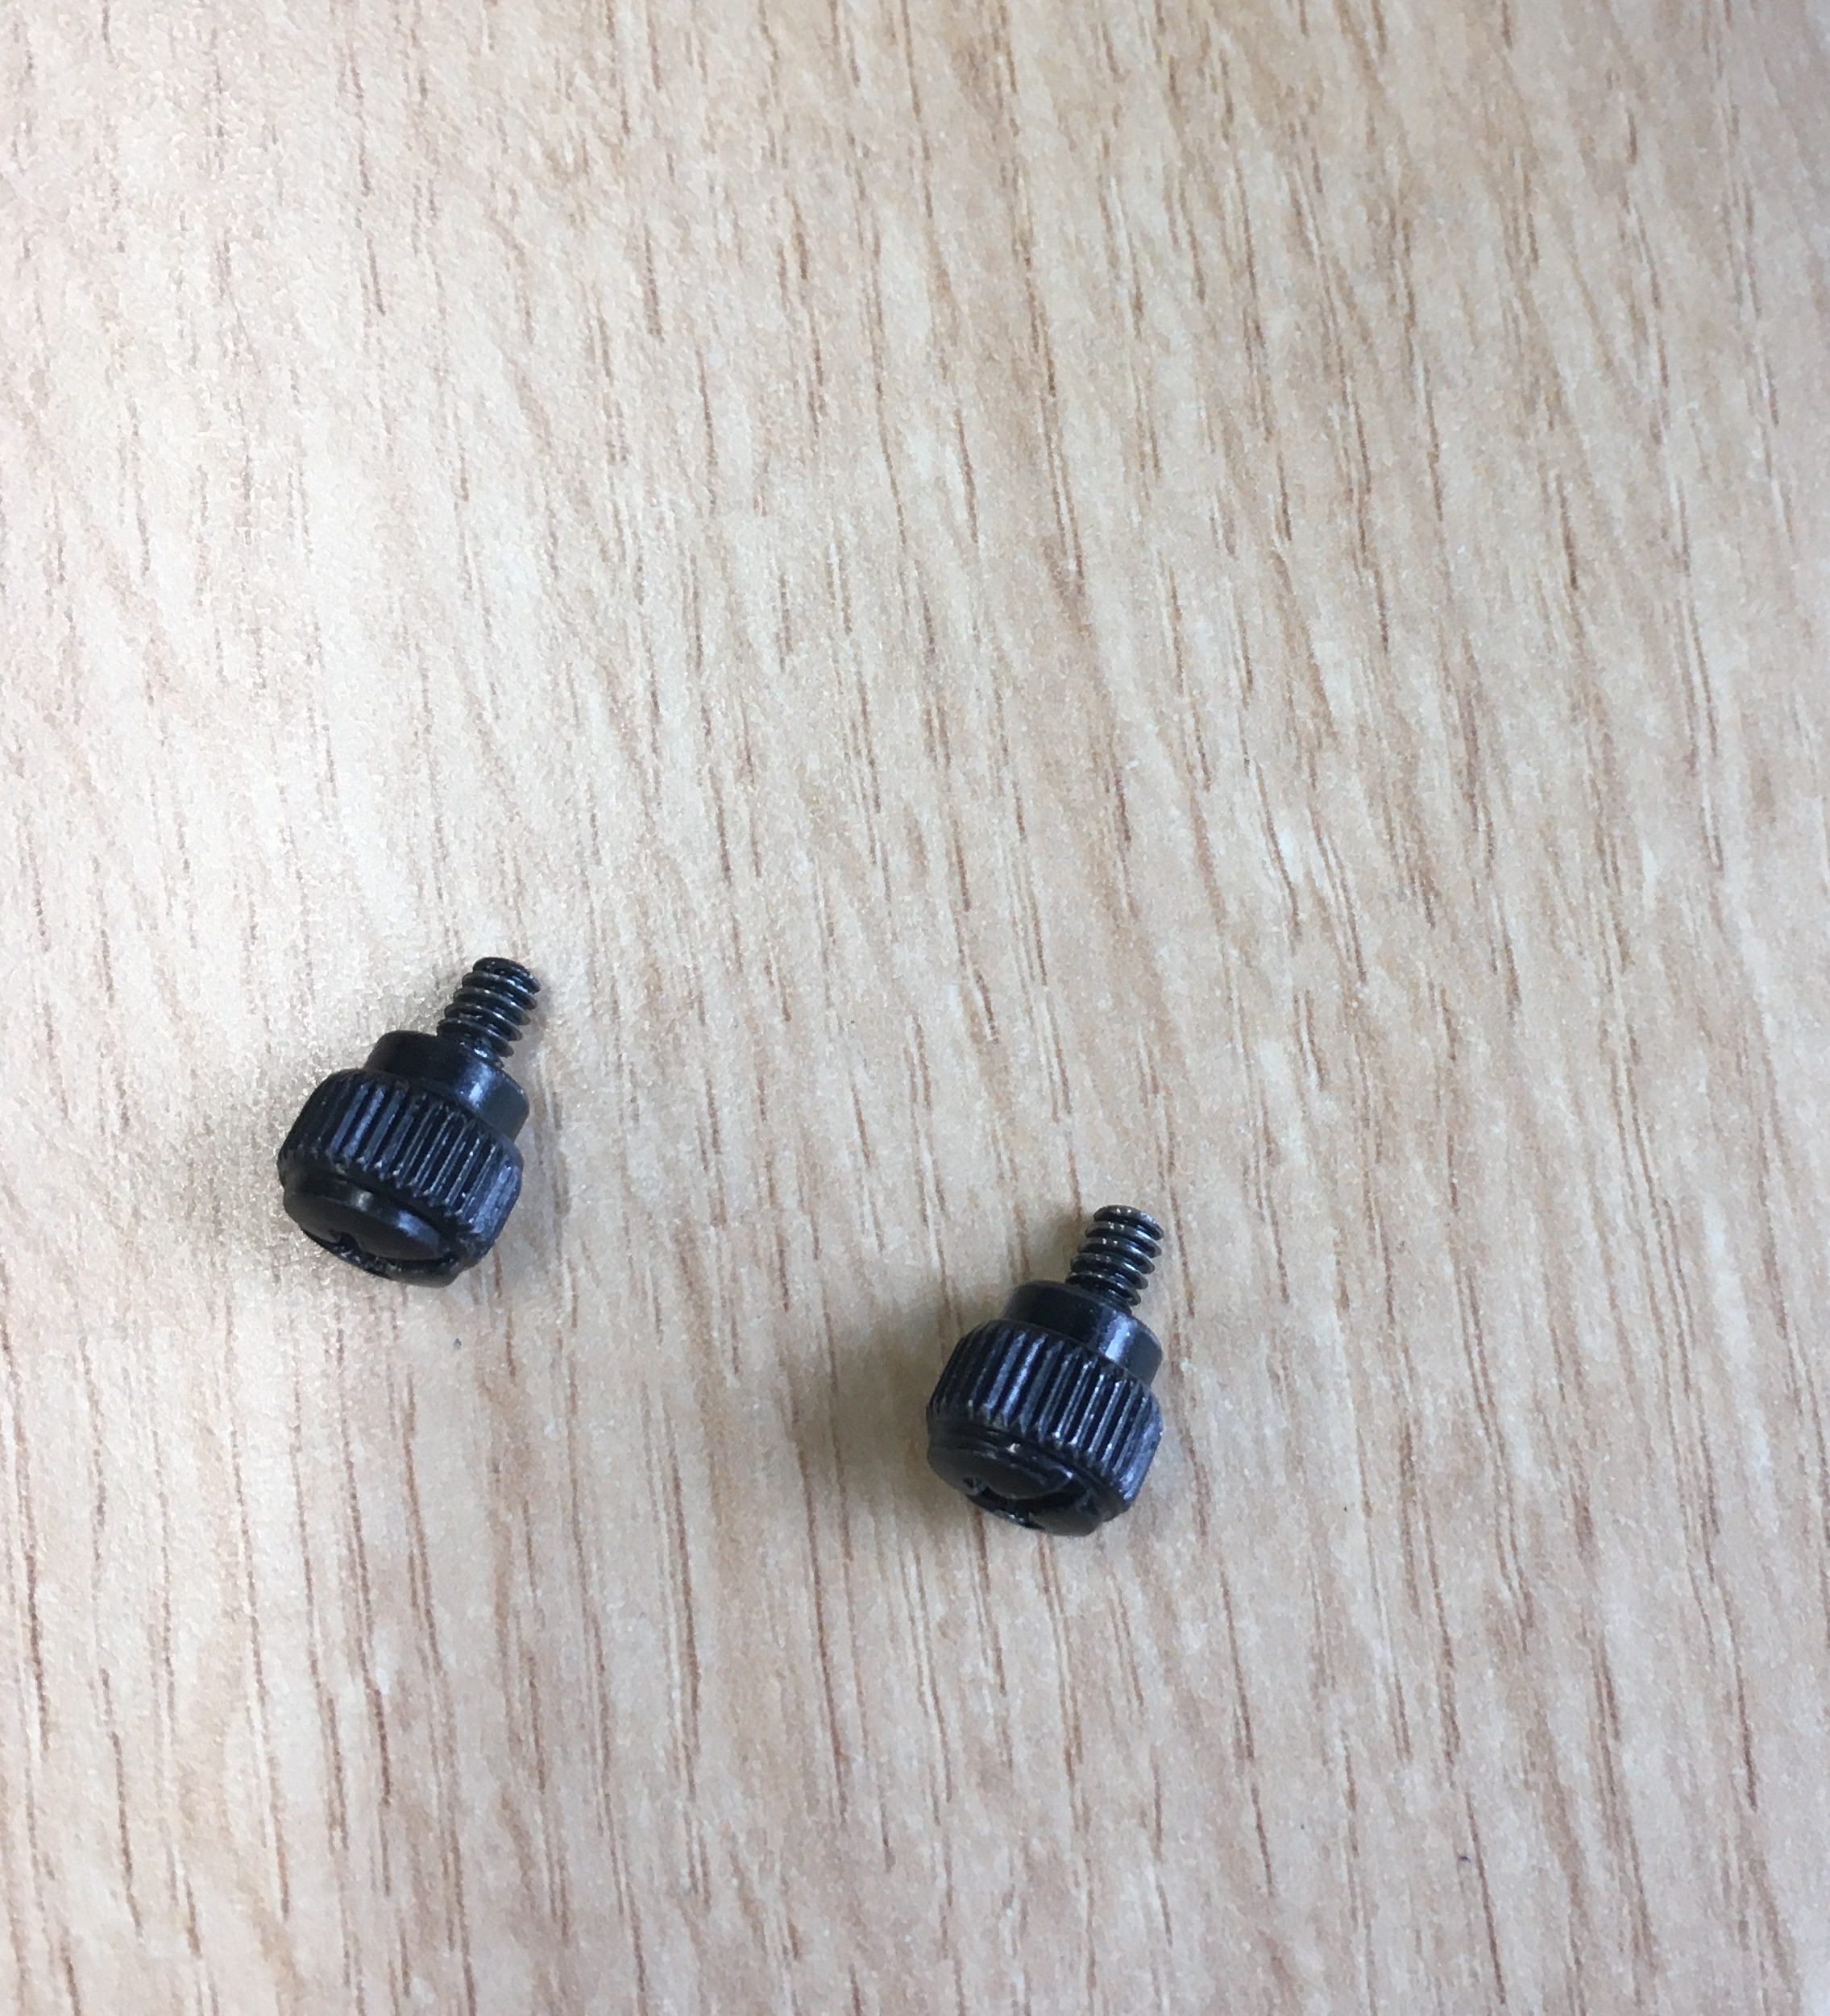
Unscrew (by hand) the two large black case screws connecting the glass plate to the case. You can then slide the glass plate off the side of the case to allow physical access to the motherboard.
Disconnect the cables
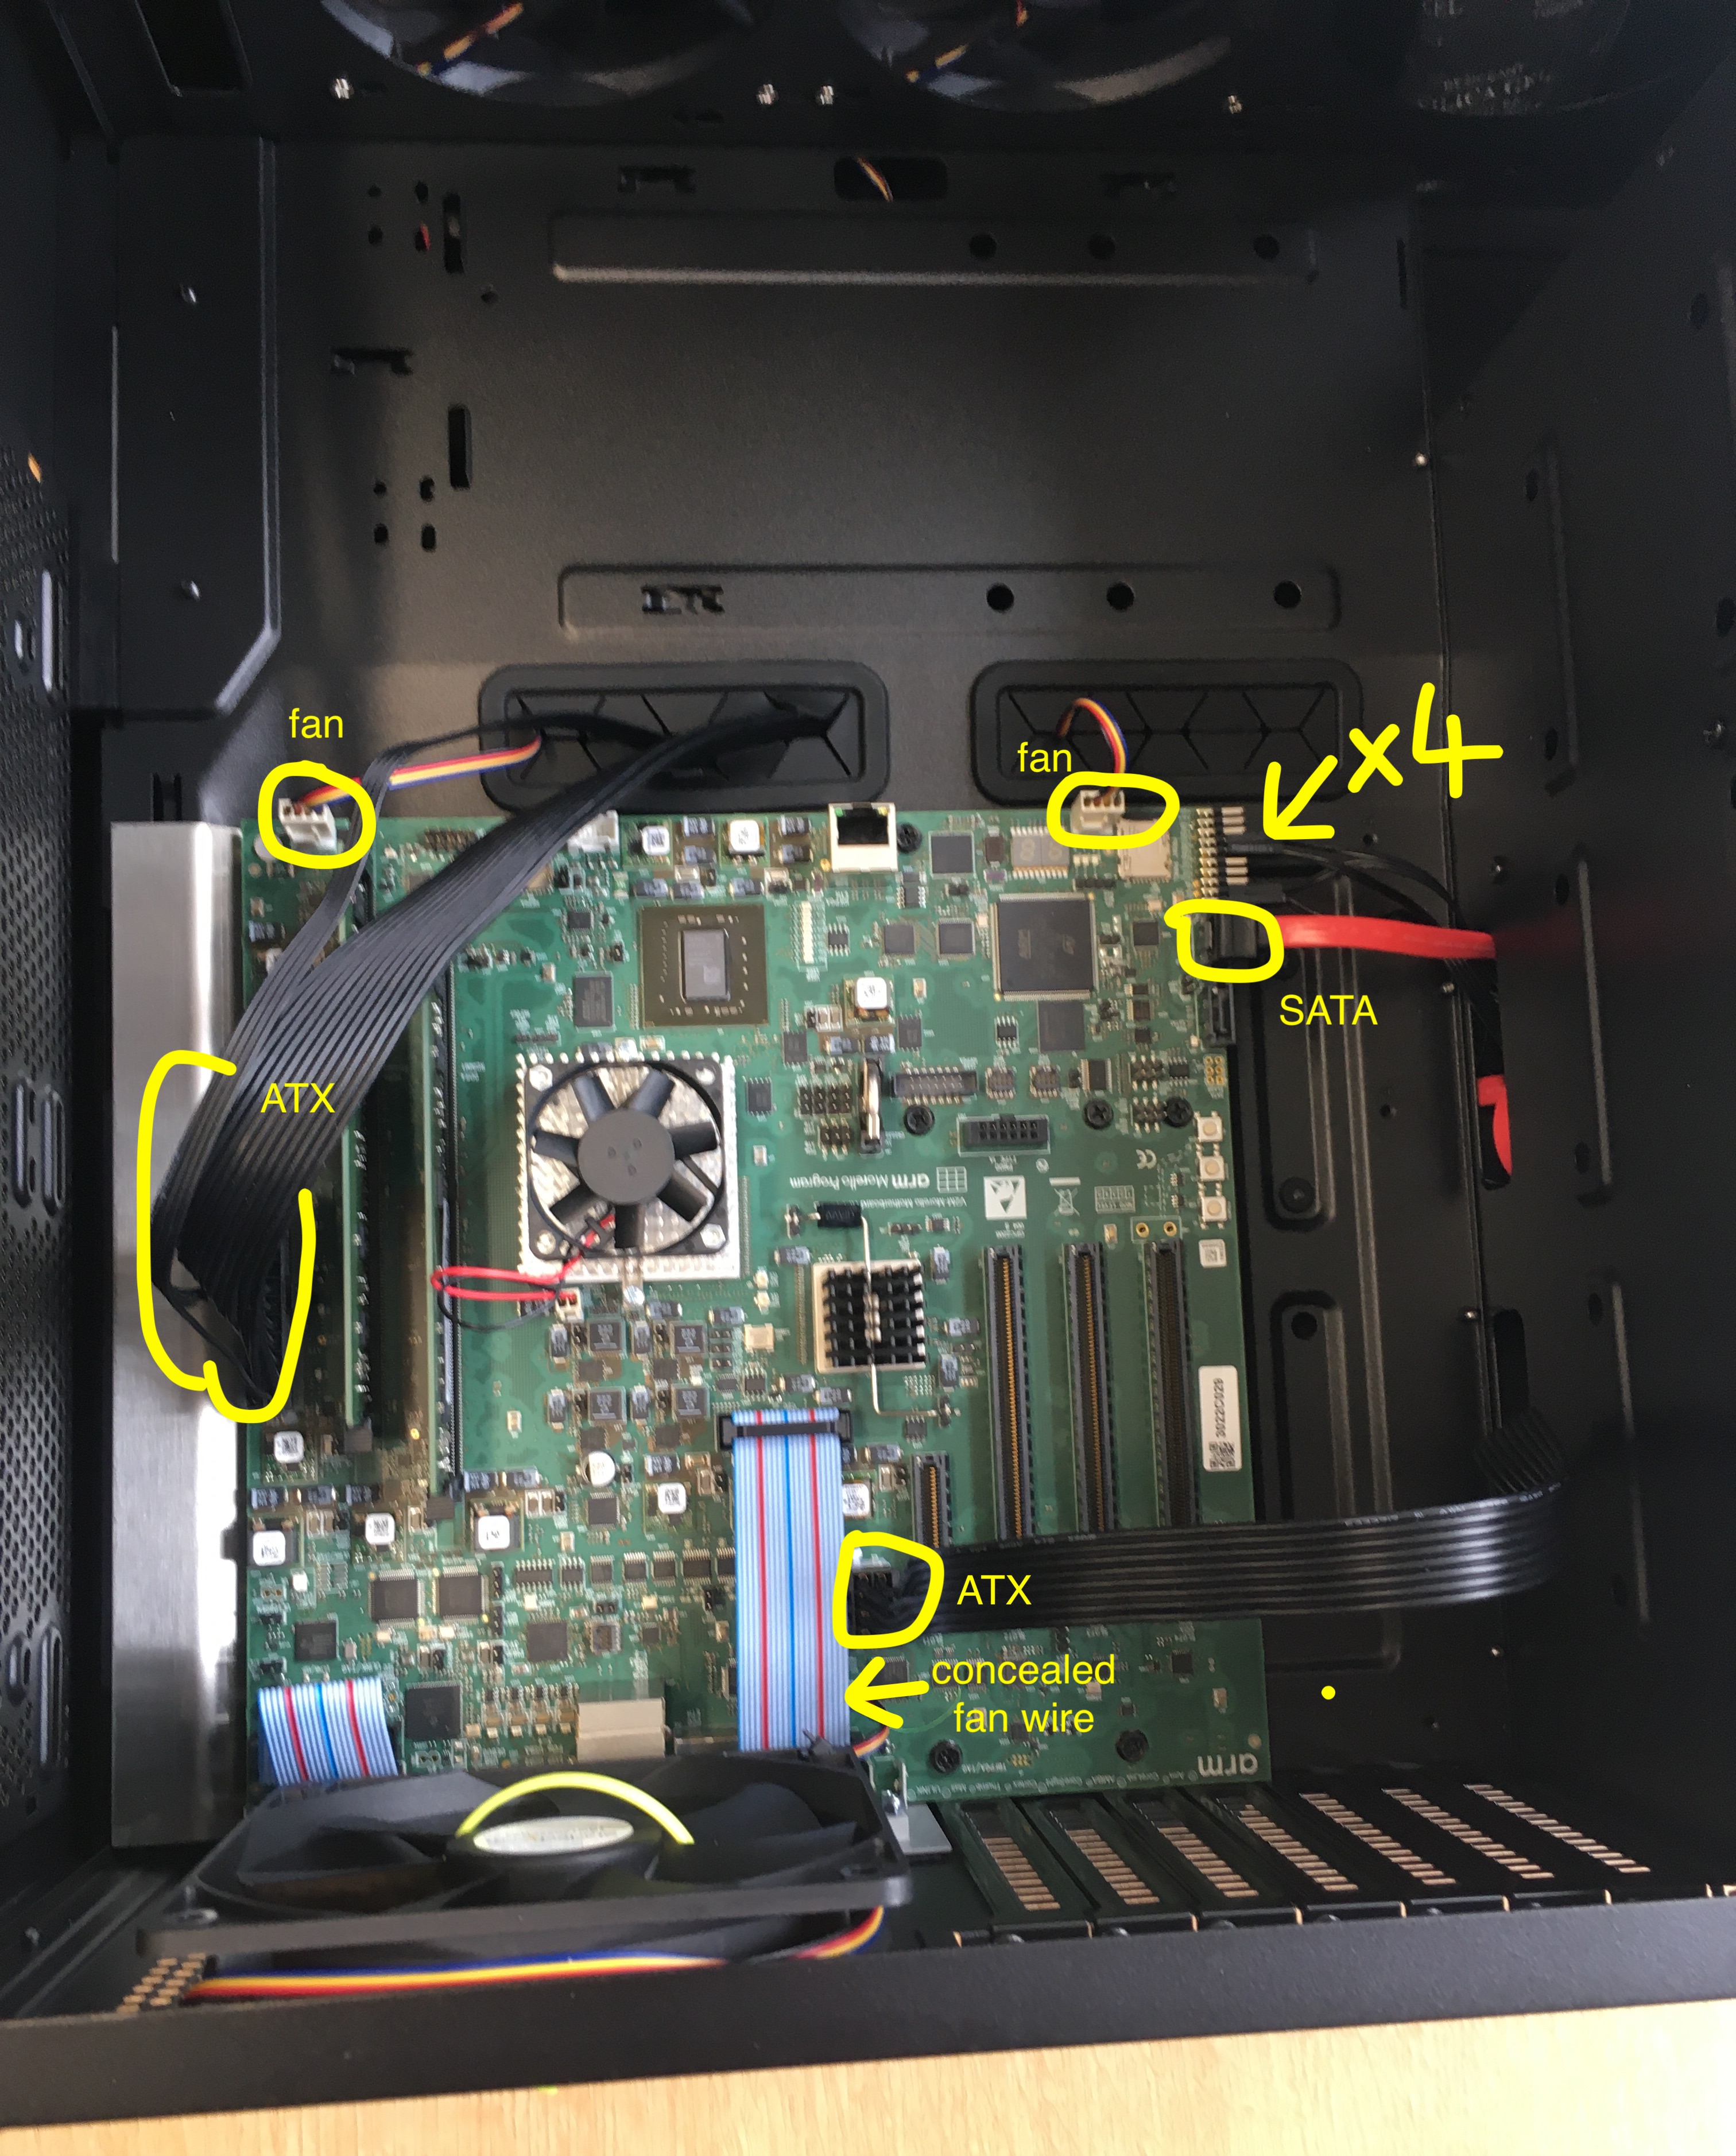
Disconnect all the cables that are plugged into the motherboard from external components. These are:
three small white fan power connectors, one of which is concealed under an ATX power cable
two black ribbon cables for ATX power supply
the red SATA cable for the hard disc
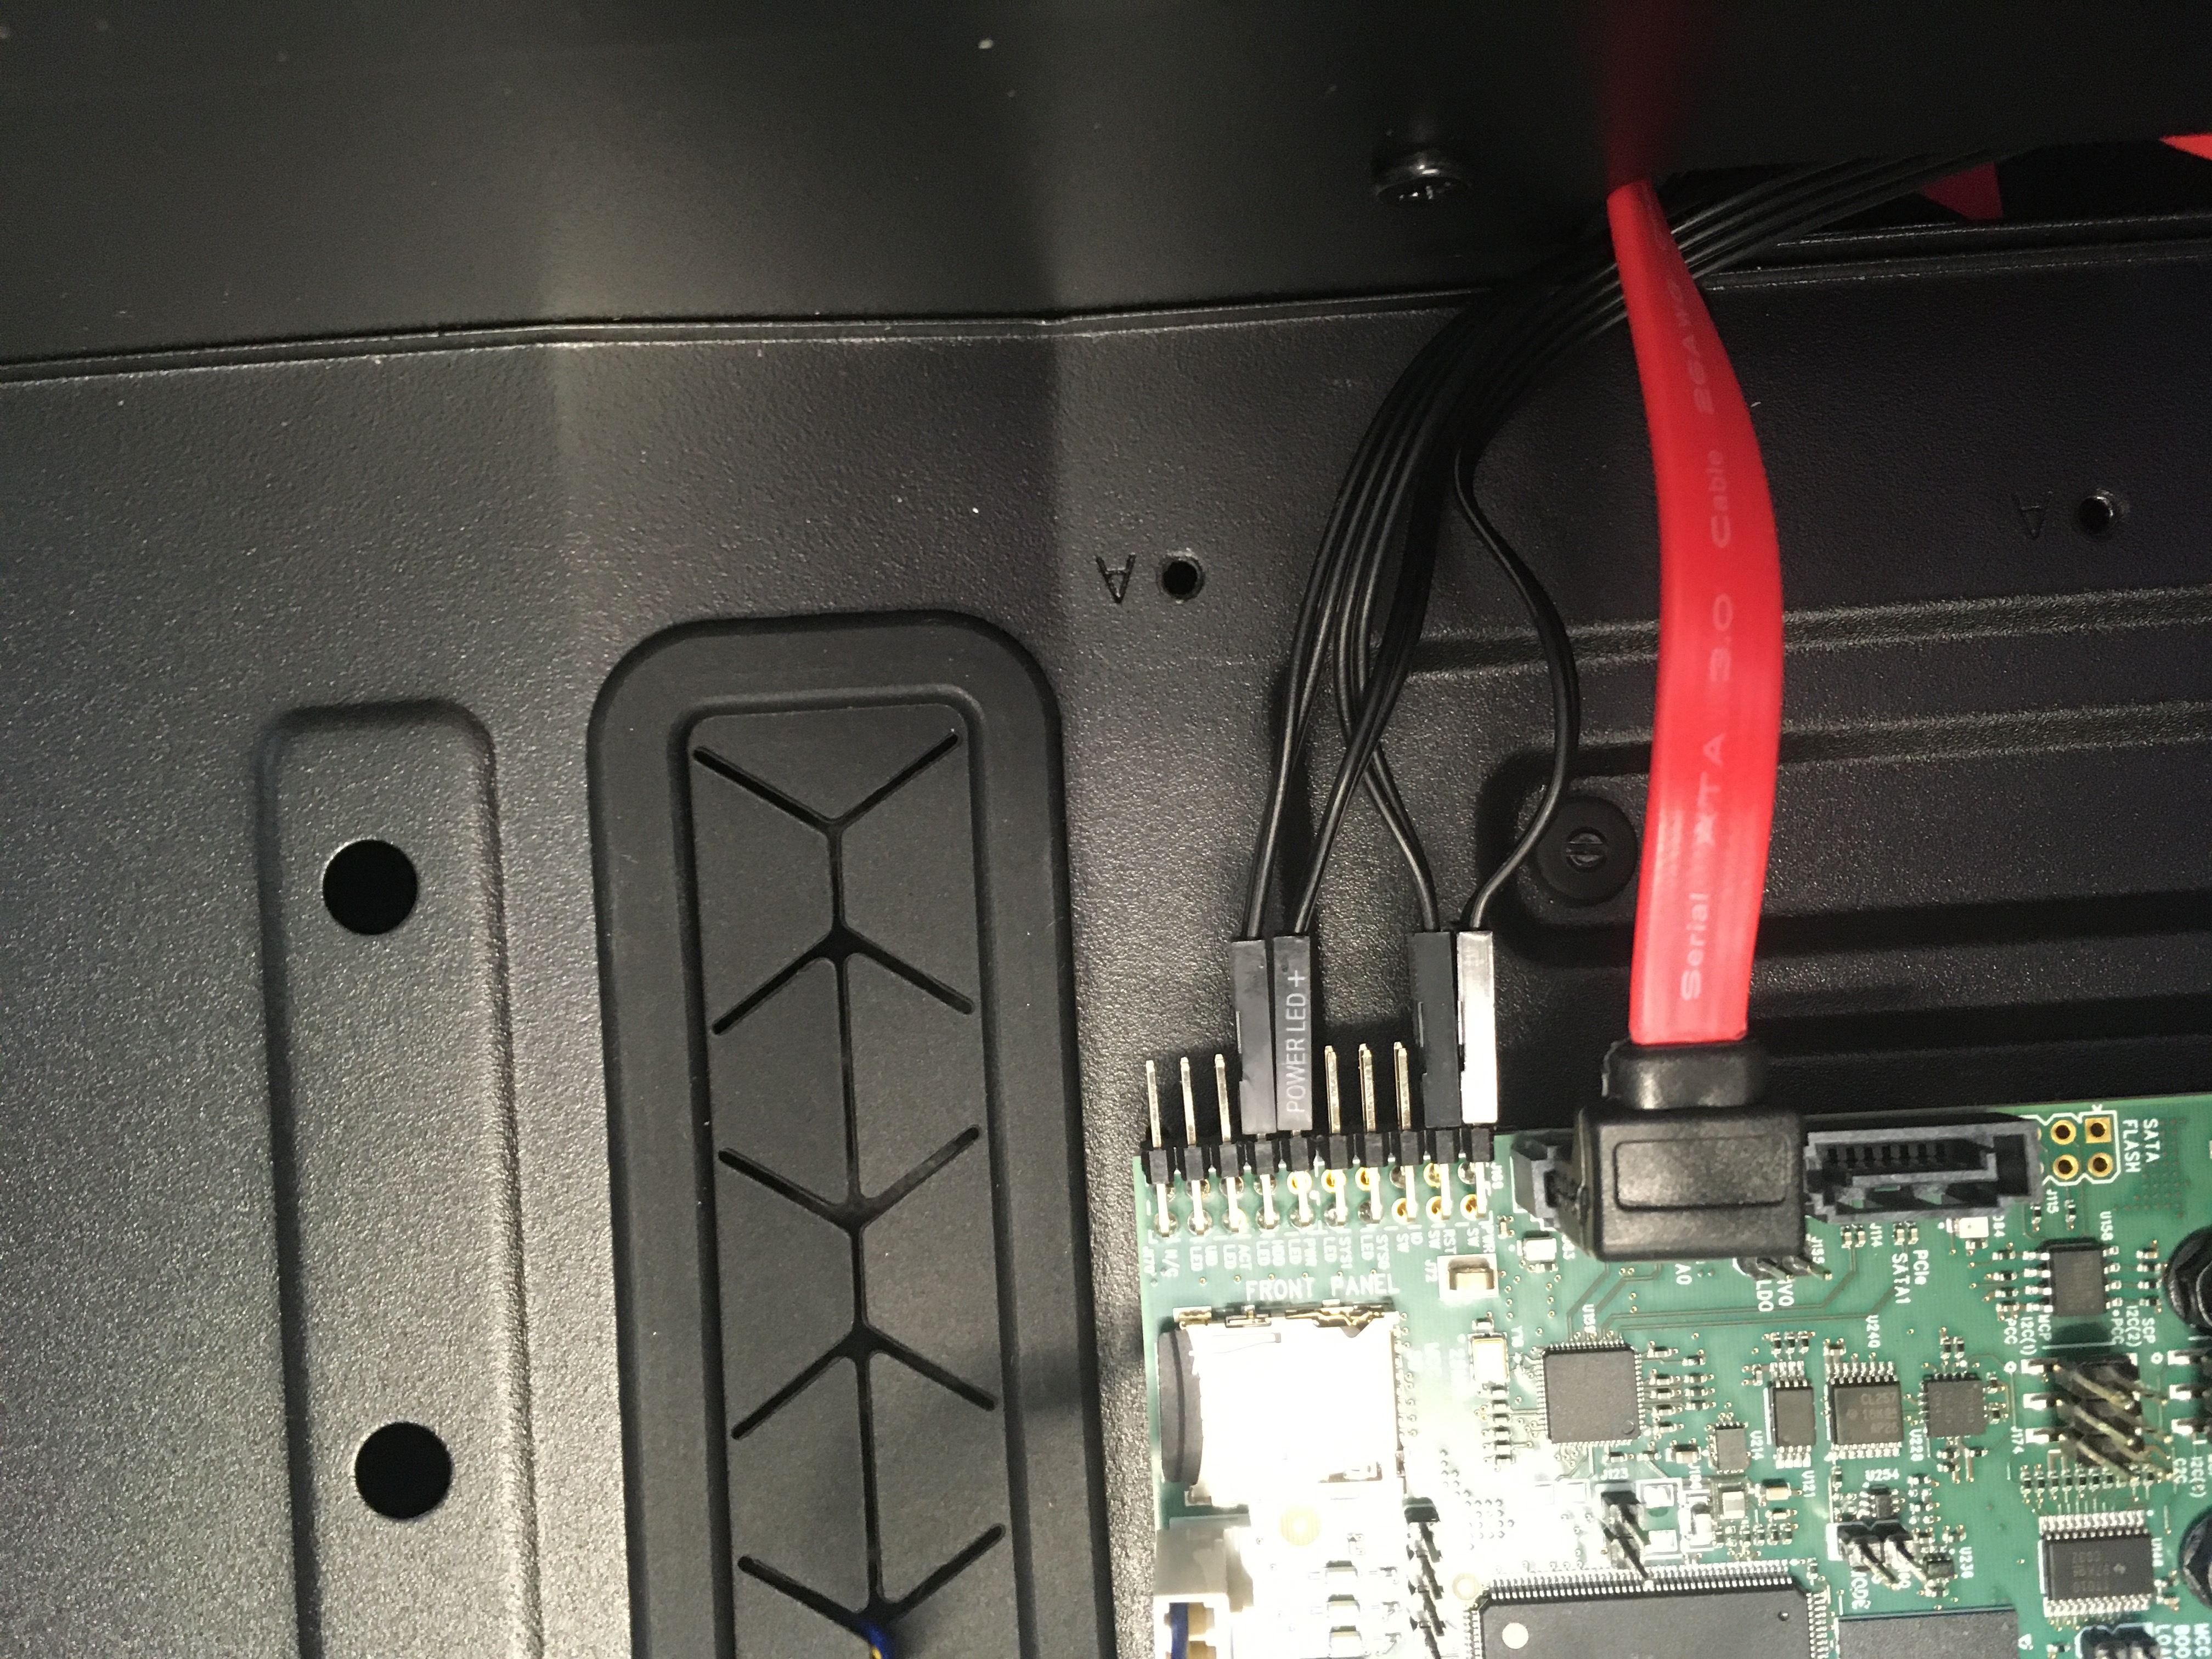
the four small black cables that connect motherboard pins to the front of case electronics (for reset button, power LED, HDD LED, power button). These connectors have labels on them, to avoid mixing them up - see image below. Note that each cable connects two pins, effectively it is a pair of single wire cables.
You can leave the two blue ribbon cables connecting to SOC-JTAG and C2C external interfaces on the motherboard, since these connect directly to the backplane which is only attached to the motherboard, not to the case.
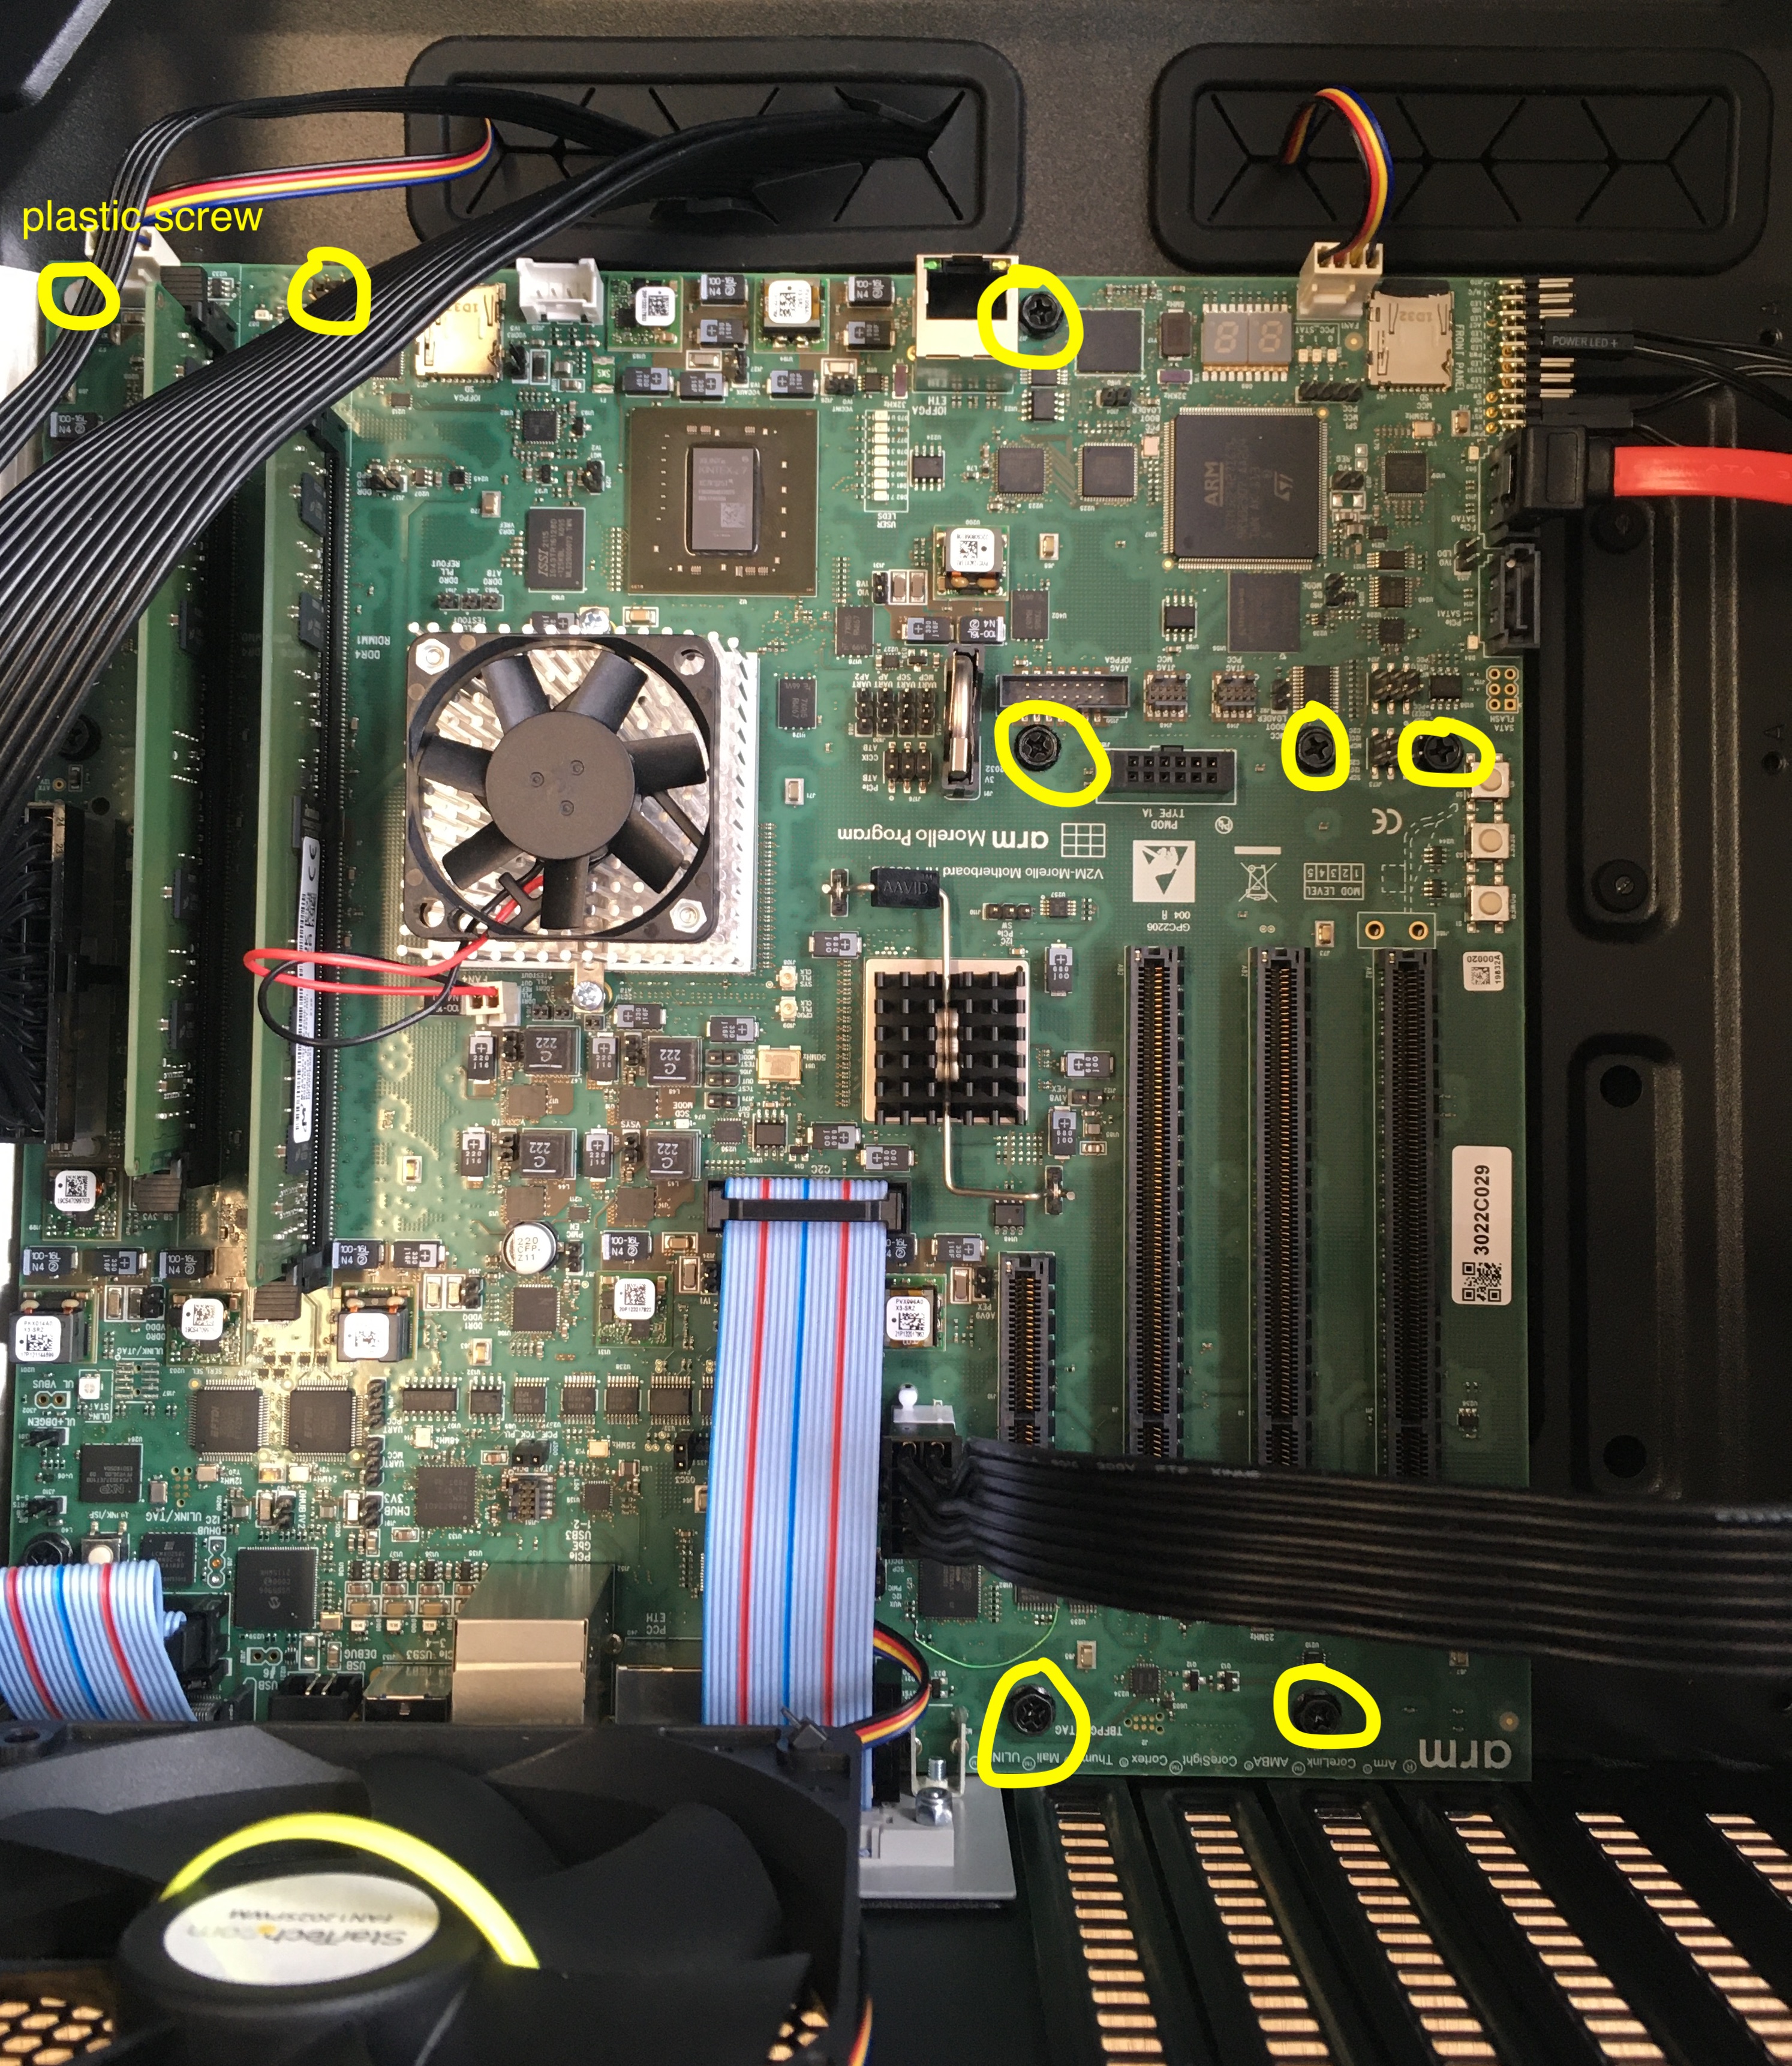
Unscrew the motherboard
There are eight black metal Philips screws and one white plastic screw, which requies a flathead screwdriver. Remove all screws and the motherboard should lift out of the case.
Remove the RAM (optional)
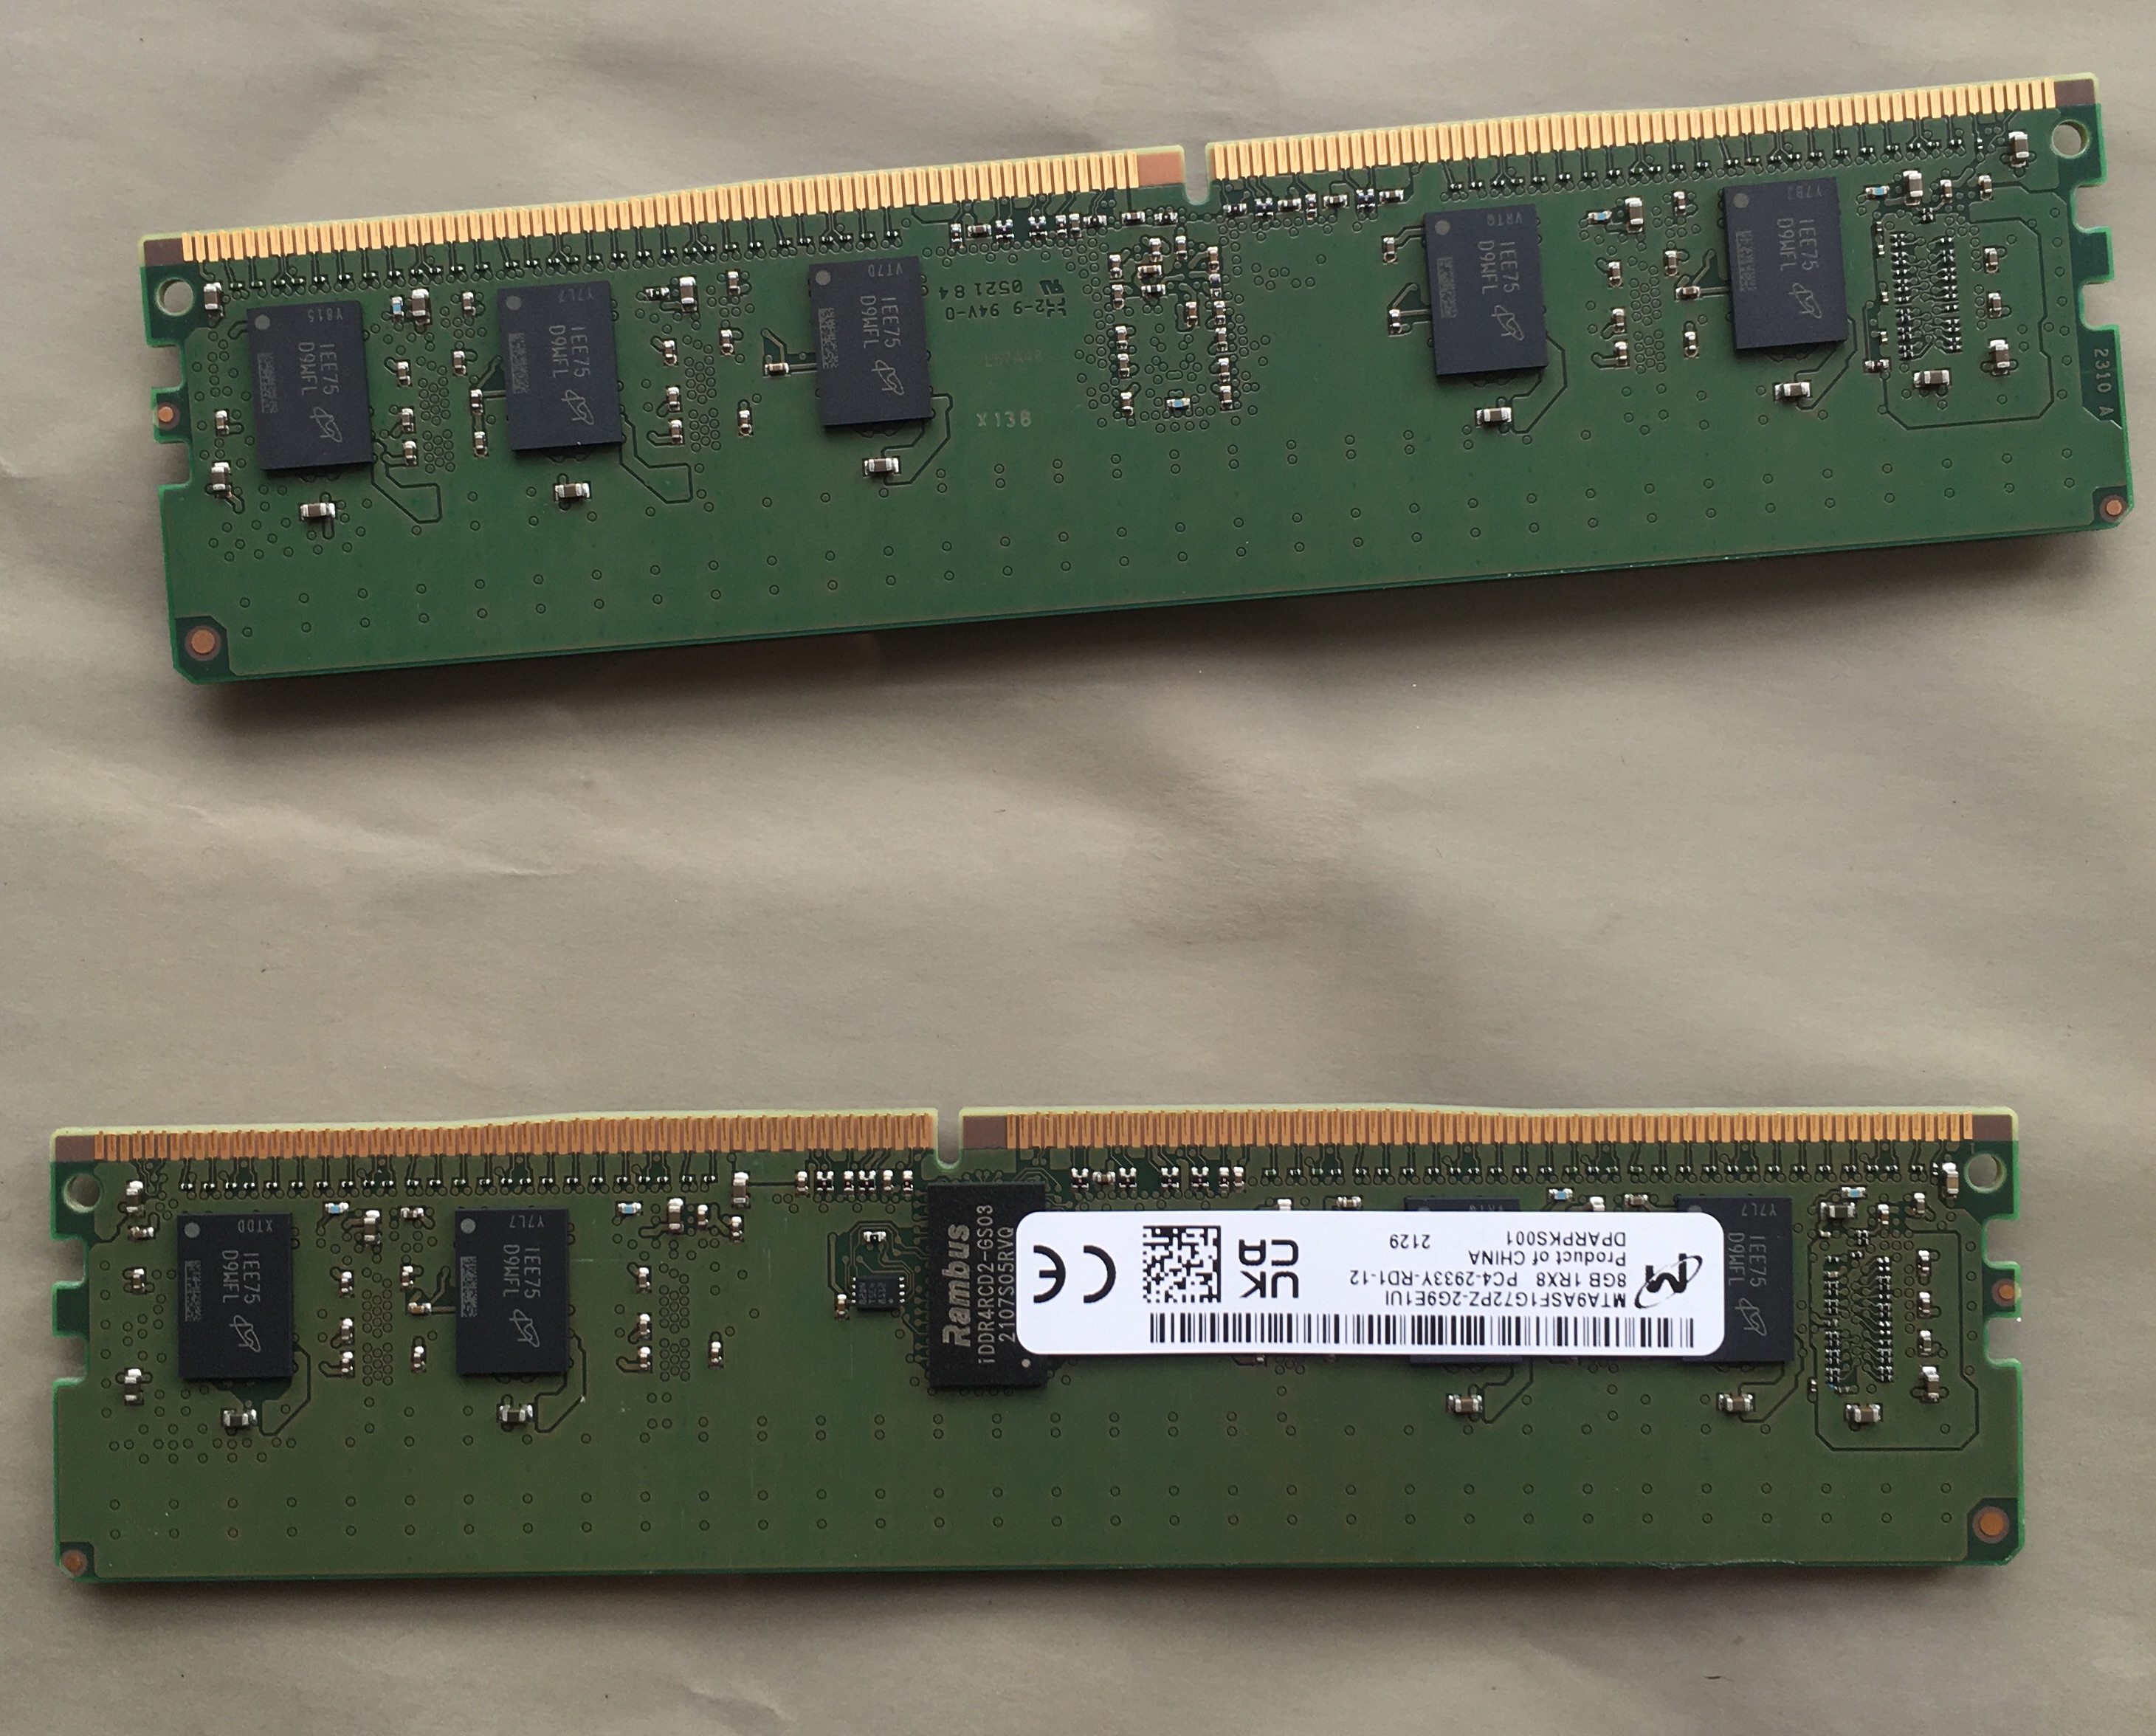
For ease of transport, I unplugged the two DDR4 RAM modules from the motherboard, simply unclipping them from their plastic cases.
Extract motherboard from case
Now the motherboard should simply lift out of the ATX case. Be careful to avoid damaging any components. Once I removed my motherboard, I immediately put it into a large anti-static bag for safety.
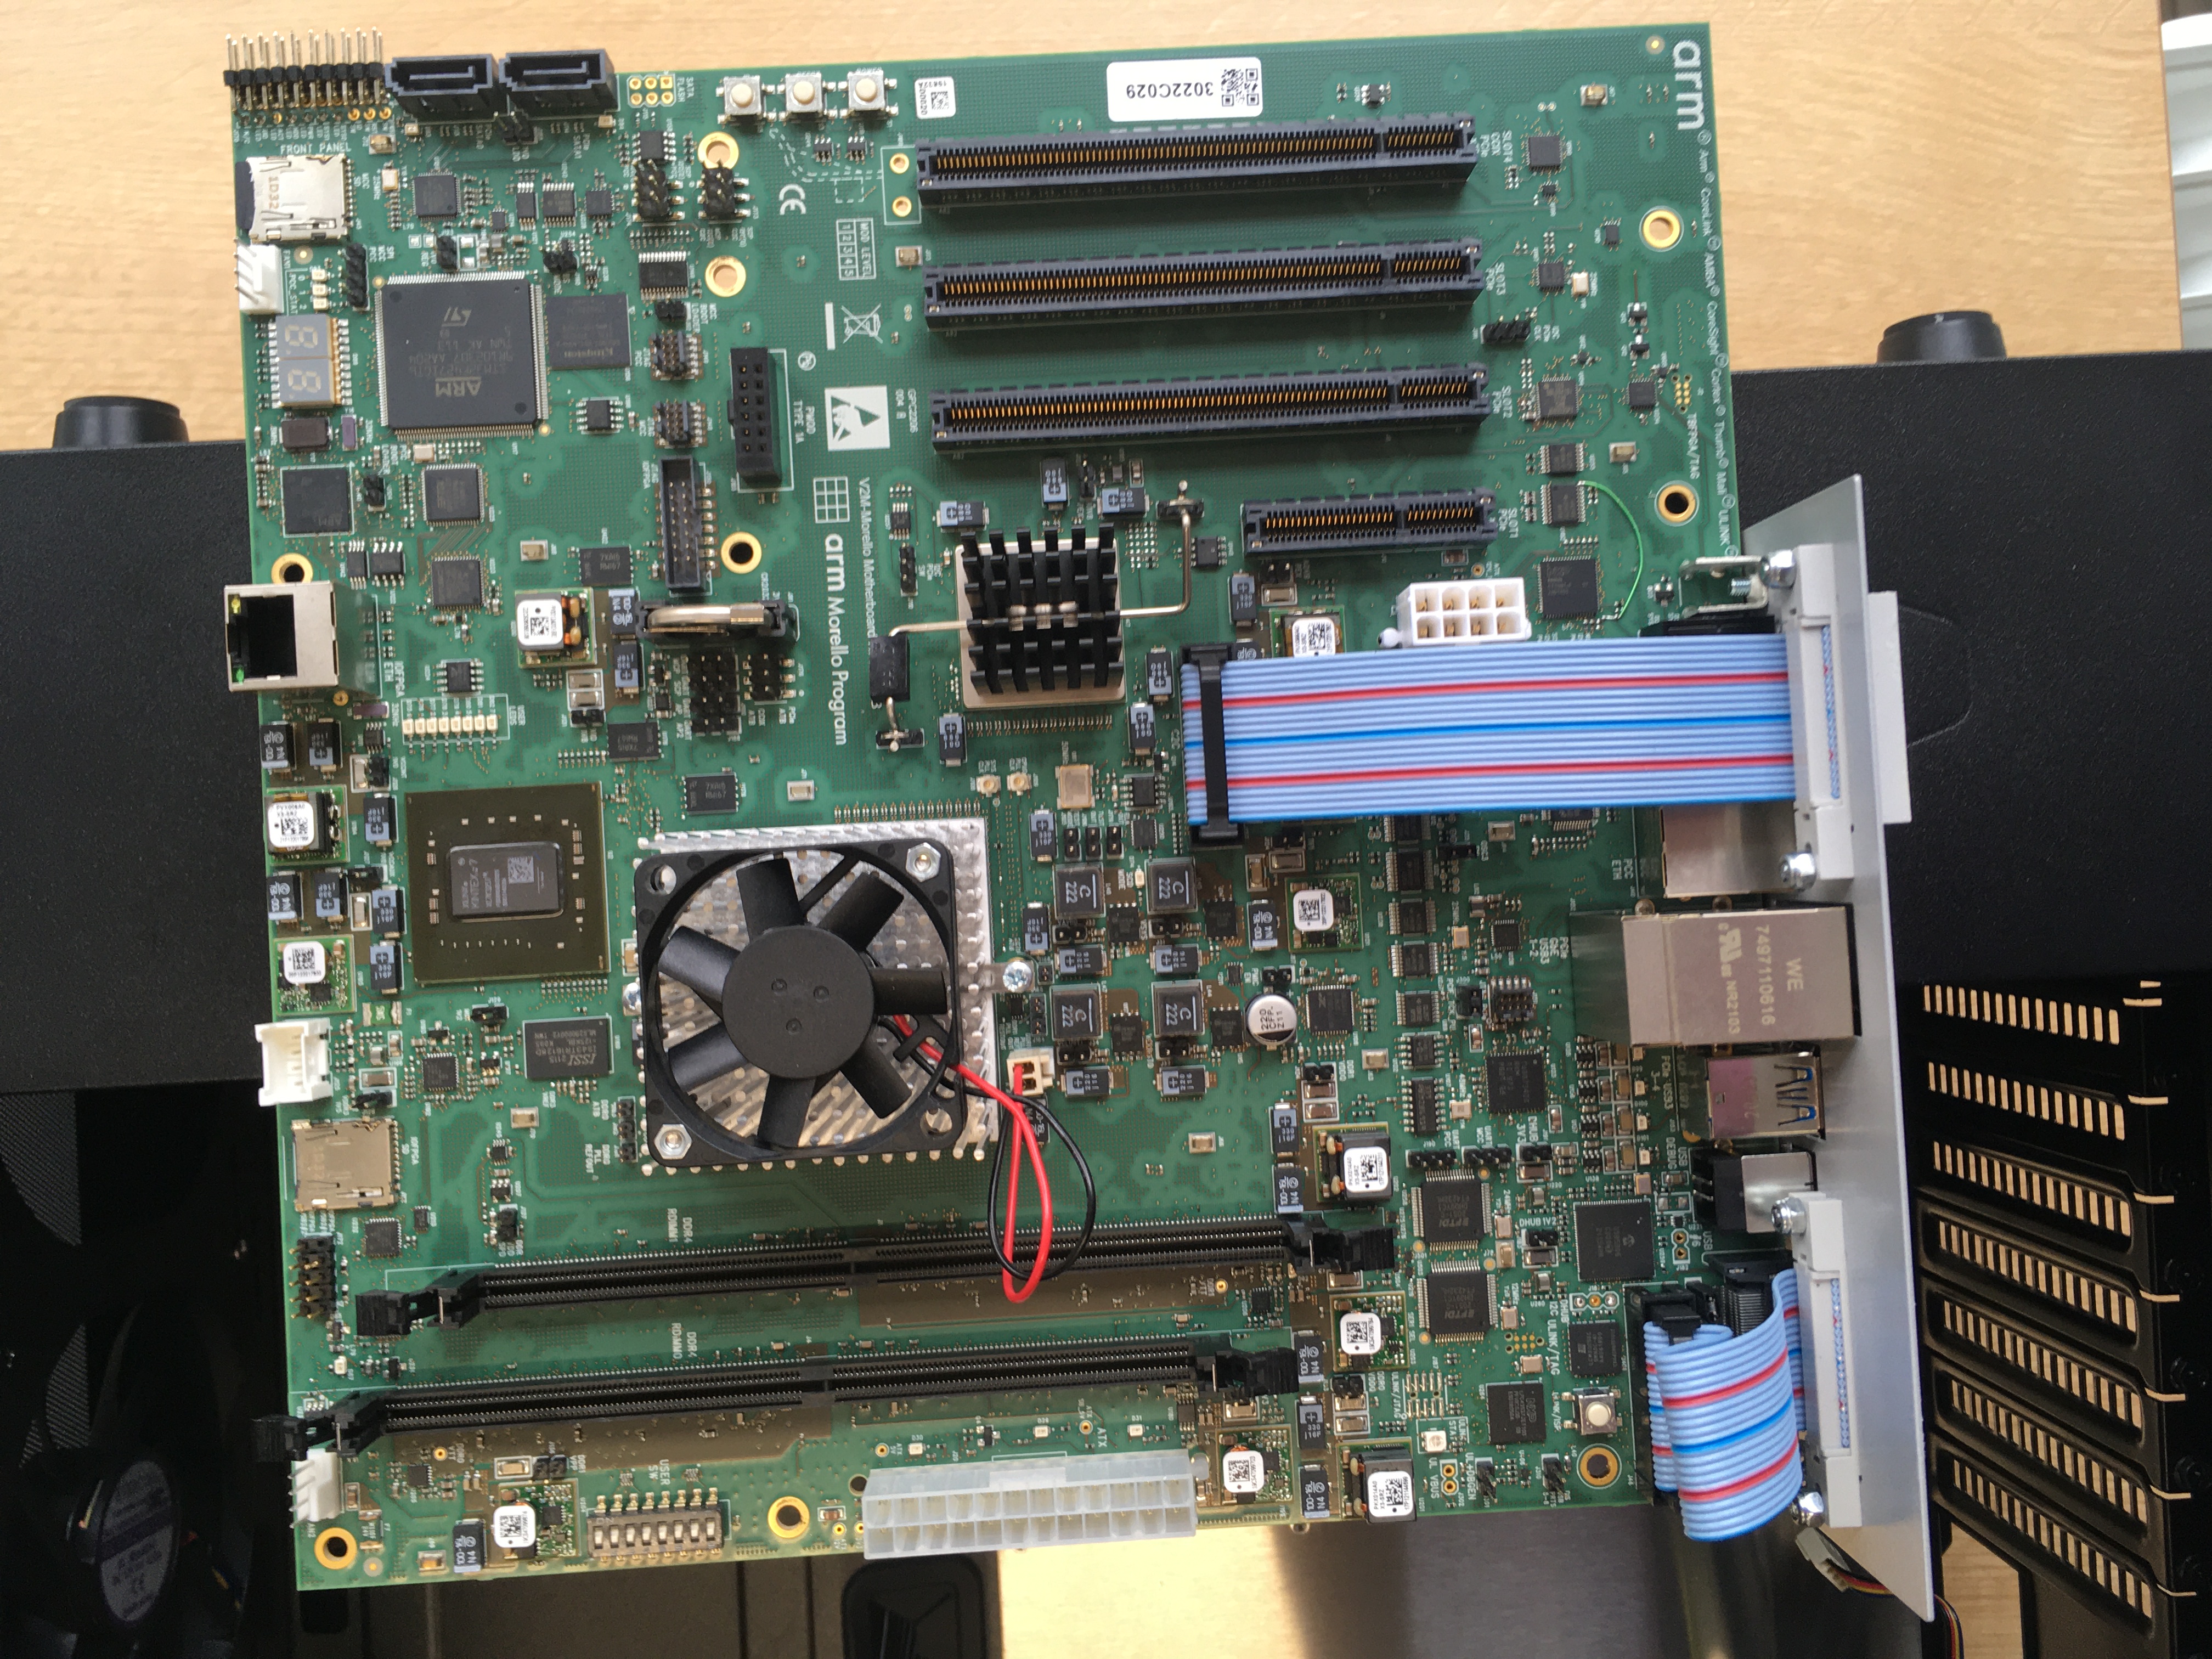
Now the motherboard can be re-housed in an alternative case, perhaps a smaller ATX case with a nano PSU. Alternatively, follow the steps in reverse to re-install the motherboard in its original case.
